Install tracking pixels on a website
This page explains how to install tracking pixels on your website.
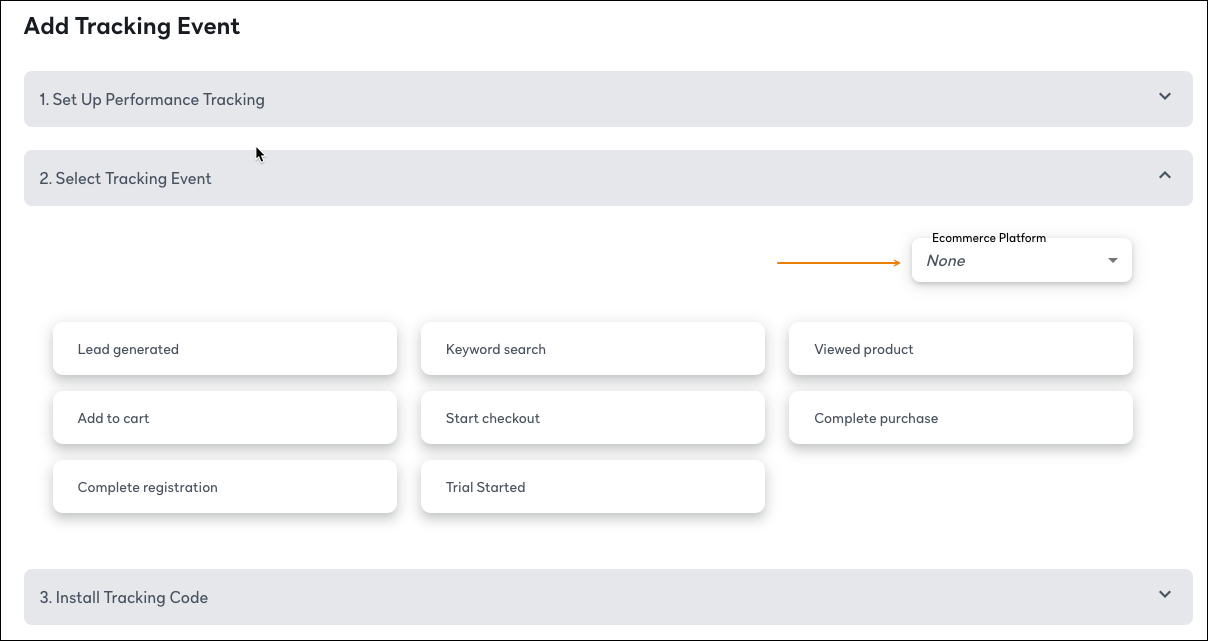
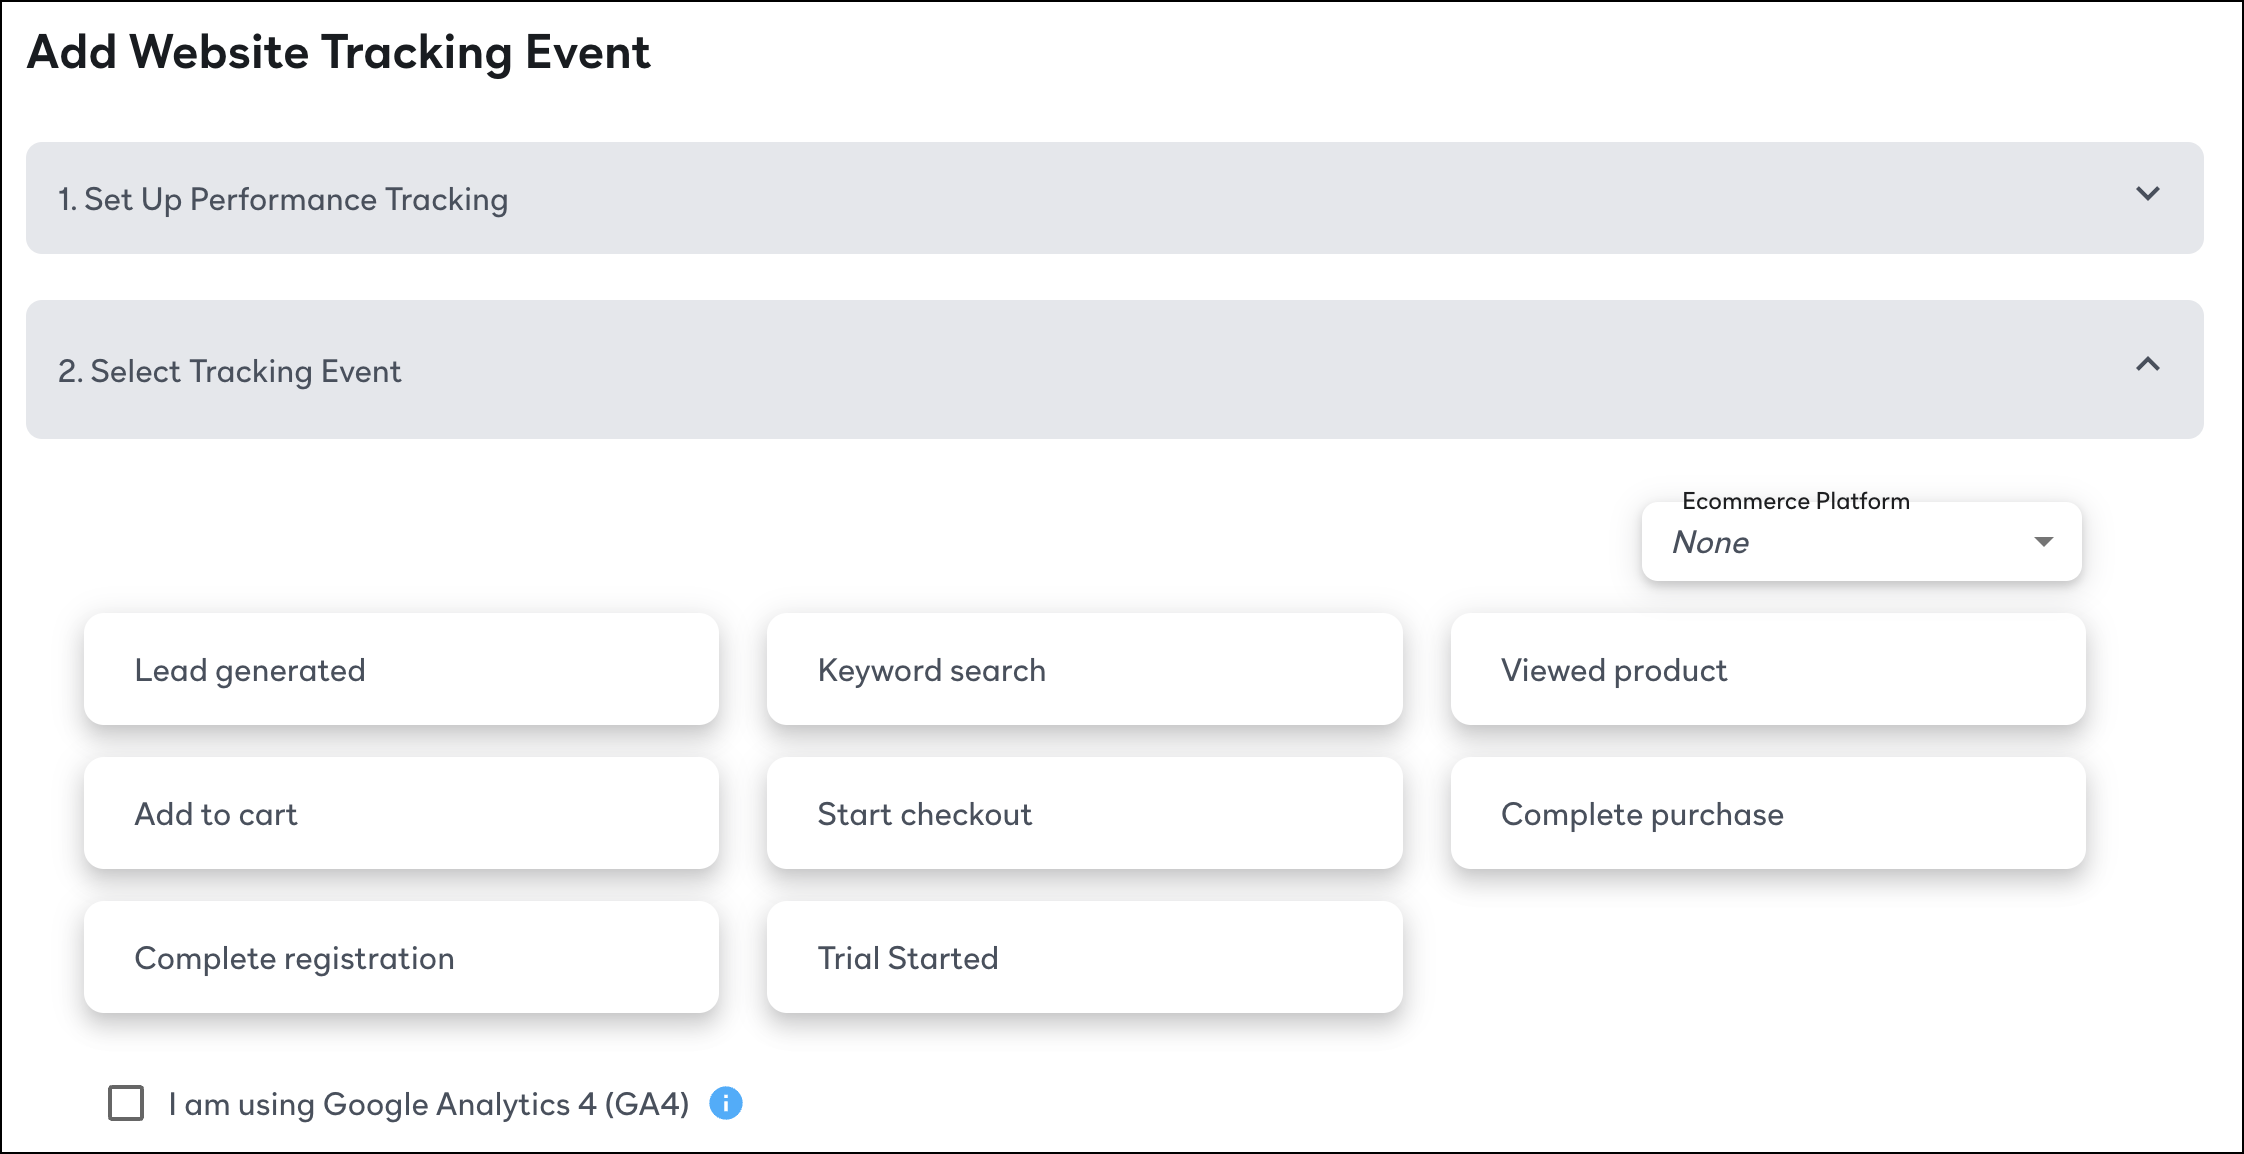
Select your integration platform from the Ecommerce Platform dropdown. If you integrate with Shopify, see Install tracking pixels on a website with Shopify integration .

Select the conversion events you want to create tracking pixels for. The Universal site pixel is included automatically.

If you’re integrating with Google Analytics, select I am using Google Analytics 4 (GA4), enter your GA Measurement ID and GA4 API Key and click Save. Refer to Google Analytics 4 (GA4) Integration for further instructions.
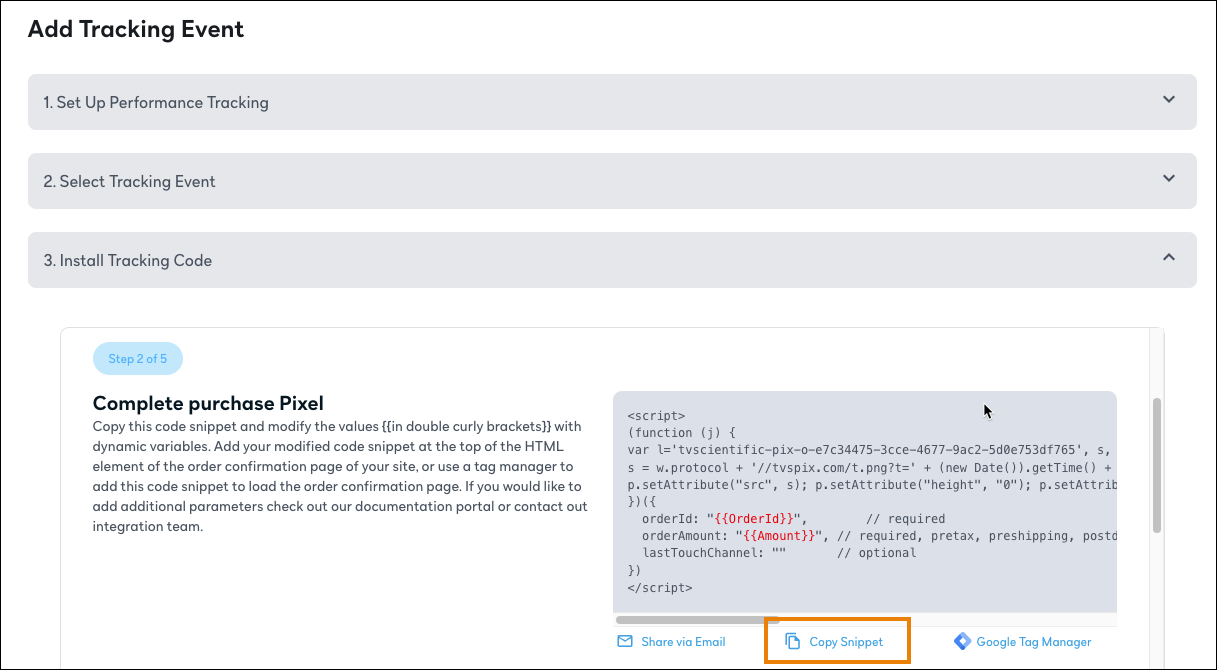
Expand Step 3: Install Tracking Code. For each conversion event, the required code snippet is displayed along with a description of where to paste it on your website.
EXAMPLE
Below each pixel, click Copy Snippet, then paste the code into a separate document (e.g., Google Doc, Word document, Notepad).

When you copy a snippet from Peacock Ad Manager, your correct advertiser ID is automatically included.
Known Issue Don’t click Share via Email to copy code snippets. This option inserts extraneous spaces into the code, which cause the code to work incorrectly. If you need to share code snippets via email, use Copy Snippet and paste the code into a .txt file before emailing.
After all required snippets are in your document, open the HTML of your website and paste each snippet into the required location.
Perform end-to-end pixel testing to verify that your tracking pixels are working as expected. See End-to-end QA testing for instructions.
